-one plain mirror (I don't usually shop at walmart but when I do, I get really cool stuff. Like this plain mirror that BONUS hangs over the door!!) (It was $15)
The "Set Point Theory" suggests... We Are Born With "A Cap" to our Happiness... In this video I will teach you a bit more about "Habituation" and also give you, 2 Clever #LifeHacks to "Busting That Cap!"
In addition to what was mentioned in the video, "happiness scientist", Sonja Lyubomirsky suggests that any given task, that we do once and gives us a "high", if you will, such as "bringing a lover breakfast in bed" if done regularly will begin to feel like a chore and in fact will begin to be taken for granted over time, by the person receiving the breakfast in bed.
In a video, coming soon, I would like to suggest ways on how to combat, complacency in relationships as well as "how to get more recognition and appreciation from your partner"
Additional thoughts on this topic, as my mind began to drift. I believe parenthood is one of the most Altruistic Goals, as long as we continue to see it as one, it can bring one, yes, many struggles, but also much immediate and long term satisfaction. We just have to not let ourselves view, bringing "breakfast in bed" a chore.. :)
What are your thoughts on the set point theory?! I'd love to read em!
I Love Sushi!!
Do you too?!
But man oh man, me and white rice are not friends!...sounds like I am in a conundrum ( I love that word)
Since I don't like being cornered, lol, I created a sushi, without white rice and with a healthy soy sauce alternative (that tastes Just Like Soy Sauce!)
Oh and this is supa easy to make and so very Delicous!
P.S. On my previous rolls, I will sprinkle Sesame seed, over everything, before I wrap the Nori. If you like sesame seed, I highly recommend it!
Fresh Crab Recipe is missing in action. When I find it, I'll post it here.
LEVEL OF DIFFICULTY: 3 out of 5 because rolling the Nori can be challenging. (so practice practice practice. It's worth it, A. It's So Tasty & B. It makes a fun side dish to bring to parties!)
PRICE: Total, for All of the Ingredients 23.50. It makes 3 rolls, of Crab, Avocado & Cucumber and you still have 7 Nori wraps left over, plenty of Sesame Seed and Plenty of "soy sauce".
To Tell you the absolute truth. I usually hate face masks because they usually "bring everything to the surface" and cause me to break out...
When I discovered this mask and tried it, I immediately fell in love. My skin felt so good after AND YAY! No break outs the next day and my skin is prone to that stuff mmmkkay!
Turmeric Face Masks work wonders to
-Reduce Acne
-Brighten Skin
-Reduce Acne Scars and Sun Spots
-Clean and Tighten Pores
There are a few variations for this recipe...The recipe in the video certainly isn't the TRADITIONAL Recipe, but it does however use the same Key Ingredient:
Turmeric
Here's The Video & More Recipes Below!
"Zit Blasting" Recipe:
1/4 teaspoon turmeric powder
1/2 teaspoon lemon juice
1 tablespoon honey
(don't over do the lemon, as it may irritate skin..and try and get raw Honey, if possible. This is however, the best mask, for tightening and cleaning clogged pores)
Radiance Mask Recipe:
1/4 teaspoon turmeric powder (a pinch)
1 tablespoon avocado (mashed)
1 teaspoon yogurt
(use plain, unsweetened yogurt...to prevent irritation for sugars)
"The Glow"Recipe:
1/4 teaspoon turmeric powder (a pinch)
1 teaspoon milk
1 teaspoon honey
(raw milk, works best)
"Indian Bridal Glow" Recipe (This recipe is from Dr. Oz)
1 cup chickpea flour
3 tablespoons of turmeric (powdered form)
Almond oil (enough to form a paste)
Mix into a paste. Apply to the face and body. Remove by rubbing the mixture off with your hands. This motion will add to the exfoliation process and also helps with the removal of fine facial hair, better known as pesky peach fuzz.
I Love Vegetables!! Man oh Man...or as my mother in law says "Man Alive!" I love Vegetables!
So you saw yesterday in the "This or That Video" How to create a pasta alternative..and then we're gunna smother those Zoodles in more veggies..in particular Asparagus!
...You know what Asparagus does right?!...No...? oh okay..well I tell you in the video!..No Worries.
LEVEL OF DIFFICULTY: 2.5 out of 5...because it take a WHOPPING 25 minutes total! ;) about 20 minutes prep and only 10 to cook.
PRICE: I don't recall..not too expensive. I believe the Prosciutto was the most expensive item and it's really tasty / worth it!
TIME: 20 minutes total (cuz you have to wait for the wick to
dry 15/20 mins before you light it)
So, yea see I saw this candle on Pinterest, it looked and
sounded awesome and since I had made a delicious dish with lots of oranges
called “Spiced Orange and Date Salad” and had Extra Oranges..I thought. Hey!
Why not make one of these candles and do a short awesome video, showing you how
to do it too!
Here it is!
Do You Want My Review/Thoughts on it...?
Well, I was expecting it to smell delcious..it didn’t..and I
had hoped the flame would burn for awhile..my personal experience..is that it
did not. It only lasted a couple minutes.
Did you do this project? What was your experience with it?!
…I suppose it’s kinda cool trick..to show people..but other
than that holds no real value in my book.
Summa Summa Summa Summa Time! (that’s a song) hahah!
Hello Darling!
My wish is that you absolutely love this dish! And receive many health benefits from it as well!
This is for everyone! It is for those Meat Eaters..Non-Meat Eaters..Gluten Eaters and Non-Gluten Eaters! As long as you like Oranges, Dates, Almonds (you could sub for another nut) and cinnamon, You are good to go!! If you have never had Dates, you gotta try em'. So Delish!
Ingrediats and Calorie Content
LEVEL OF DIFFICULTY:1 Out of 5! (so stinkin simple!)
TIME: 15 minutes Total
PRICE: $8 max
TASTE: Delicious
This dish is so rich in nutrients and satisfying to palate.
It’s easy to make and pefect for summer!
This project was loads of fun and quite gratifying once done. It took a few days to apply stain and assemble all the pieces, but I would say as a display piece for a reception/wedding, it came out beautiful.
LEVEL OF DIFFICULTY:
5 out of 5, just because it was so time consuming
Cost:
Wood : $5
Stain : $12
Nails: $3
Yarn: $5
Fabric :$1.50
Banner: $8
Total : $34
Supplies:
-Hot Glue Gun
-Sheet Fabric (for Back)
-Banner material
-Iron On Letters
-Fabric Paint
-Nails
-Hammer
-Two Colors of String (not as thin as string and not as thick as yarn..michaels has a wide variety to choose from...Get A Coupon!!)
-Wood (Either Pre-Stained ...or Non-Stained...If non-stained...you'll probably want to stain it, so that the heart and other colors POP)
Time:
Total Time : 4.5 Working Hours
Watch The Video Here!
LIFE HACKS!
1. Use a Clothes Pin, To Help with getting the nails in, so you don't nail yo finger!
2. Use Olive Oil/ Any Oil To Remove Wood Stain From Skin
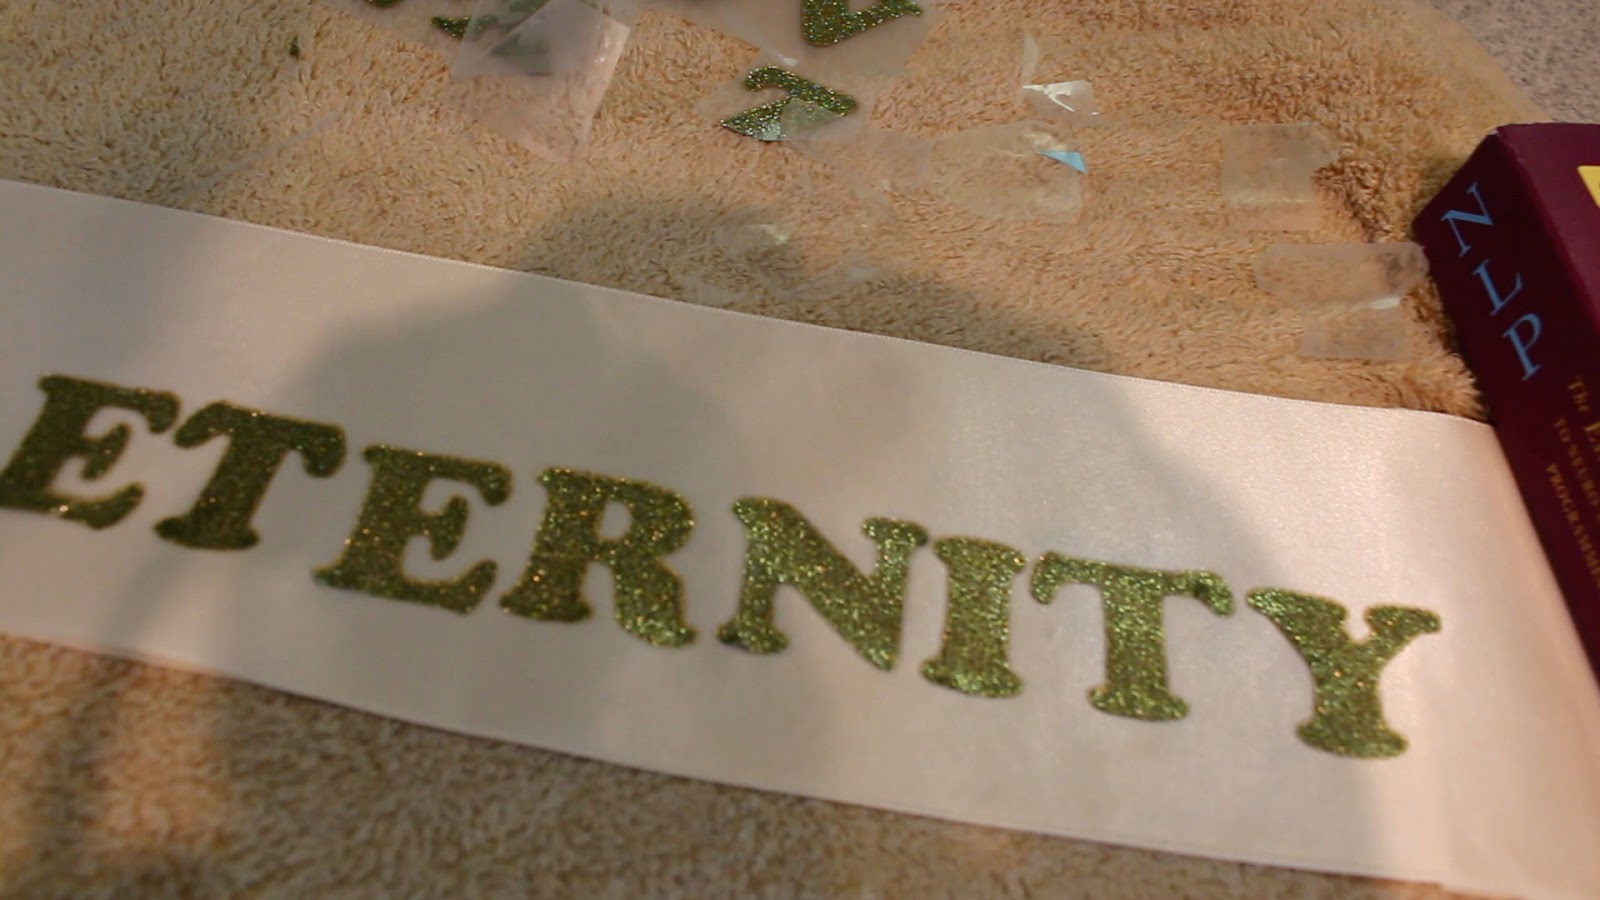
3. When you run out of iron on letters and there is only one left in the store, use other letters, to create the desired/ necessary letters, to finish project..like I did here with the second T. The first T is the one that came in the package, the second T, is a T I created from and Upside Down L and a part of an R.
#lifehack!
If you enjoyed all of this DIY Life Hack Goodness! Tell Me! Share The Videos/Content and say Hello on the Social Media Side!!
This project can get a little messy but it loads of FUN! I liked watching the wax melt and splatter, that was my Fav Part! ;)
LEVEL OF DIFFICULTY:
2.5 on a scale of 5
COST:
Canvas - $7
Crayons $1.50 Each ( I used two boxes )
Total Cost= $8.50
SUPPLIES:
-One Canvas
-A good artist or printed out silhouette from the internet (hey that rhythms! )
-2 packs or more of crayons, depending on the size of canvas.
-Hot Glue Gun. (I got a mini one at Michaels for $14+ a 40% off coupon!! so it was only $7 and it works great!)
-Old Towels or Bedsheets (in case of splatter)
-Hair Dryer
I Love the quote I added, so I will share it again here! "And Those Who Were Seen Dancing, Were Thought To Be Insane, By Those Who Couldn't Hear The Music"
Always follow your heart, don't be afraid to get a little messy. Step outside you comfort zone and make life you're own personal canvas..and make it a work of art. You have all the tools, you have all the power.
If You like This! Share It! and If You Make IT! SHOW ME!! I wanna see! I wanna see!!
Tag me on your fav social media site!
I'm stoked about the new DIY segments that I am doing! DIY projects are such a stress reliever, for me, especially because I am not a perfectionist, by any means..and I still get lots of compliments on the finished product! ;) And above all else, I feel really good about the final project.
TIS THE SEASON FOR STARS AND ...red and white colors! hahah
Therefore, my first DIY blog is Independence day themed..This Beautiful Fourth Of July Wreath.
Yay! I did that!! :)
Please excuse, at the beginning of the video, the stars were falling off, but now they are all fixed and up nicely.
Materials for this project include:
6 White Felt
6 Red Felt
5 Blue Felt
1 Sparkly Sticked Sided Felt
1 foam wreath. (there were 3 sizes at Michaels..this was the medium sized wreath)
1 pack bridal and lace pins
scissors
Measuring Tape
Floral Wire
Pen
Cost:
$10- I found a 40% michaels coupon..It was a limited time..Non the less, FIND a Coupon!)
Time :
1 hour 30 minutes
Level of difficulty :
1 (on a scale of one-five)
Here's The Video:
(just click the pic!)
And here are The "How To DIY Fourth of July Wreath Reading Instructions"
First thing you need is some felt. I bought mine at Michaels at .29 cents a sheet. 6 red, 6 white and 4 blue. You may not need this much, you may need more. It all depends on how close you squish them together on the wreath. You want to cut them into 2x2 squares (Don't worry about being exact). It makes it a lot easier if you stack a few sheets together and cut them all at once. Once cut you will fold the squares into triangles.
Fold once corner to corner.
Then fold again.
You are going to pin these pieces to your wreath on the folded bottom corner. I got the wreath at Michaels craft store. Just to clarify I found everything I used at Michaels.
The wreath.
The pinning.
You're going to keep pining your folded squares all along the wreath. As you pin spread apart the folded squares so they look fuller. You're going to do a lot of pinning, pulling and fluffing.
Try not to pin your pieces too close together. This will make it look really squished and you will probably run out of felt squares before you are done. I had to pull out quite a few pieces till I got it to look how I wanted.
Space, the final frontier.
Written Directions Compliments of http://teriturnmire.blogspot.com/2012/05/patriotic-wreath.html
If you Loved This Project and Decide to Create It Yourself. I WANN SEE IT!